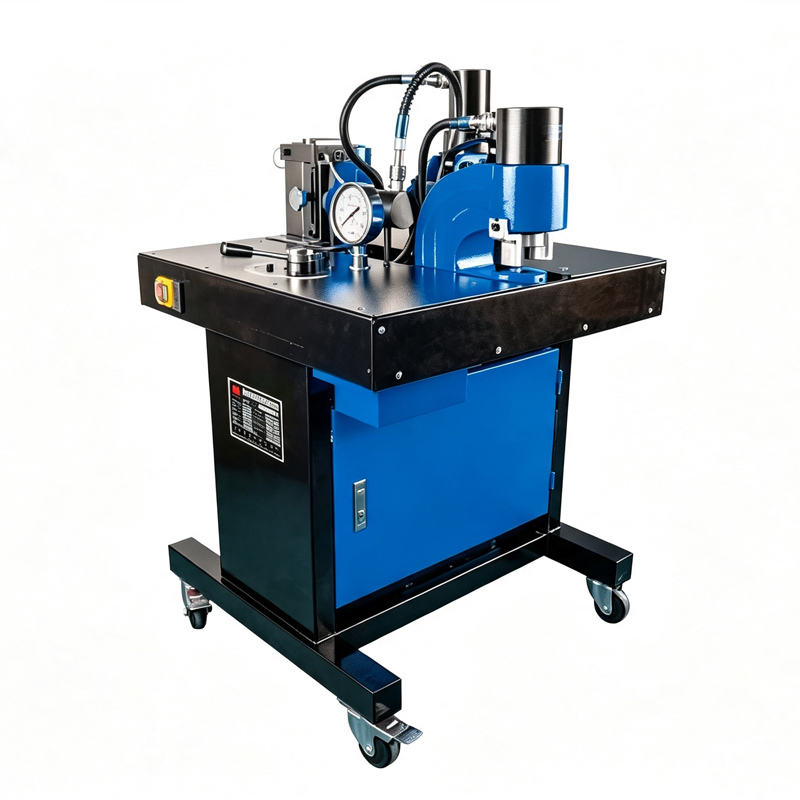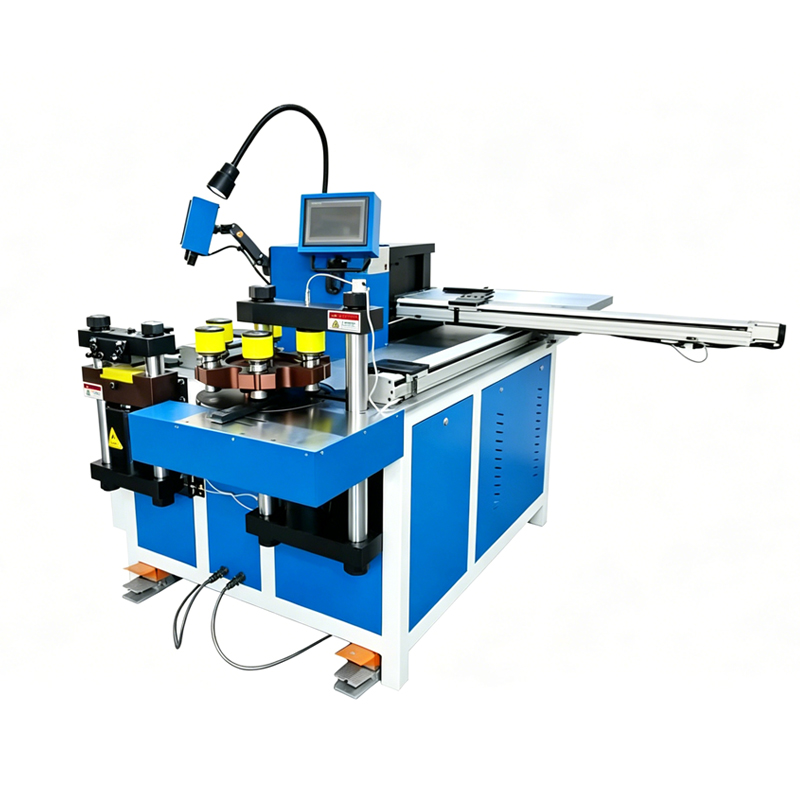

What Preparations Are Required Before Using a 3-in-1 Busbar Machine?
Before shipment, Fenghua, a busbar machine manufacturer, conducts a complete machine test on each 3-in-1 busbar machine to confirm that all functions of the machine are working properly before the machine is shipped. After receiving the machine, customers still need to complete the necessary preparations before the machine is officially put into use.
Before the official trial run, prepare the installation environment, power cables, hydraulic oil, molds, copper and aluminum busbars, and other necessary items in advance, and complete the corresponding preparations according to the machine requirements. The following sections describe the preparations required before the trial run of a 3-in-1 busbar machine and the specific trial run process.
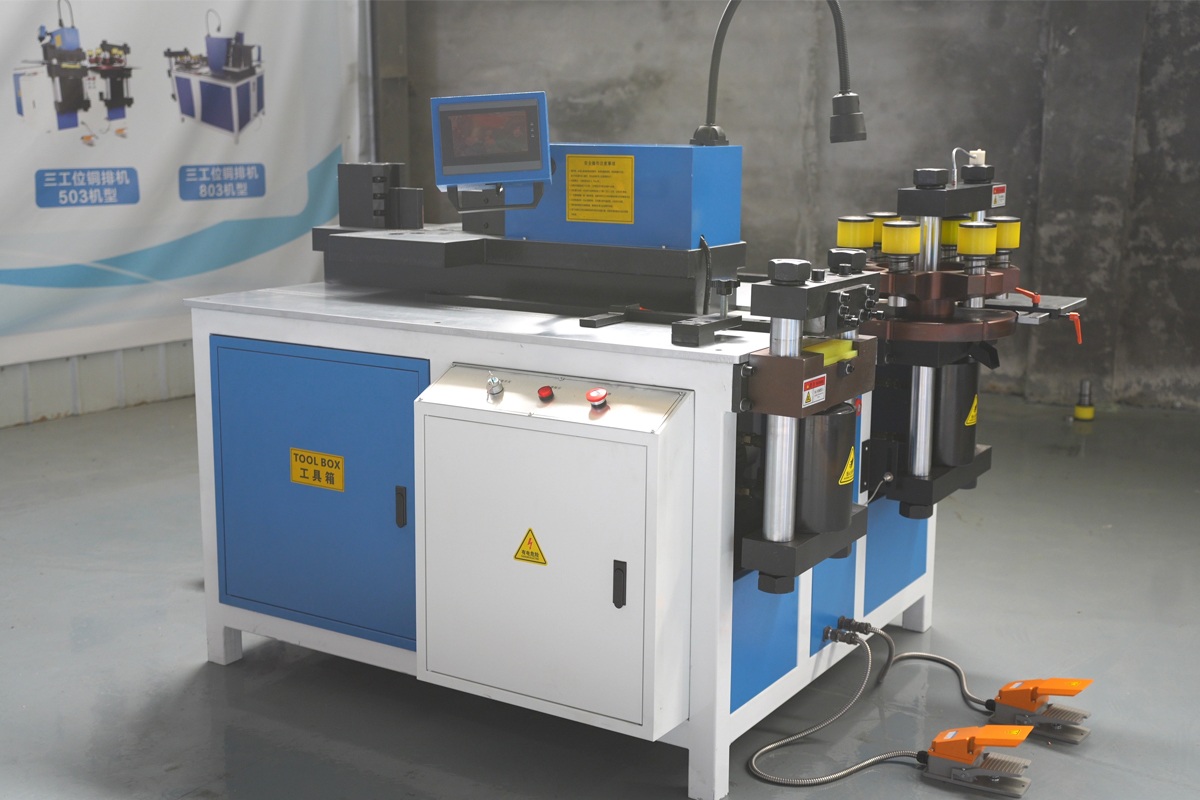 |
The 3-in-1 busbar machine should be placed in a dry and well-ventilated indoor environment. Avoid prolonged exposure to direct sunlight or moisture to reduce potential adverse effects on the machine’s electrical system, hydraulic system, and metal components.
The machine should be placed on a level and solid floor. Avoid placing the machine on an uneven surface, as this may cause the machine to become unstable and affect subsequent operation and processing.
A 380V three-phase power supply should be available at the installation site, and the actual voltage should match the machine’s requirements. The power supply wiring should also be prepared in advance to facilitate subsequent machine wiring and trial operation.
The installation area should not only accommodate the machine itself but also provide sufficient space for placing, loading, and unloading copper and aluminum busbars, as well as for operators to work. Especially when processing long busbars, make sure that the busbars can enter and exit the machine and be moved without being obstructed by walls, other equipment, or miscellaneous items.
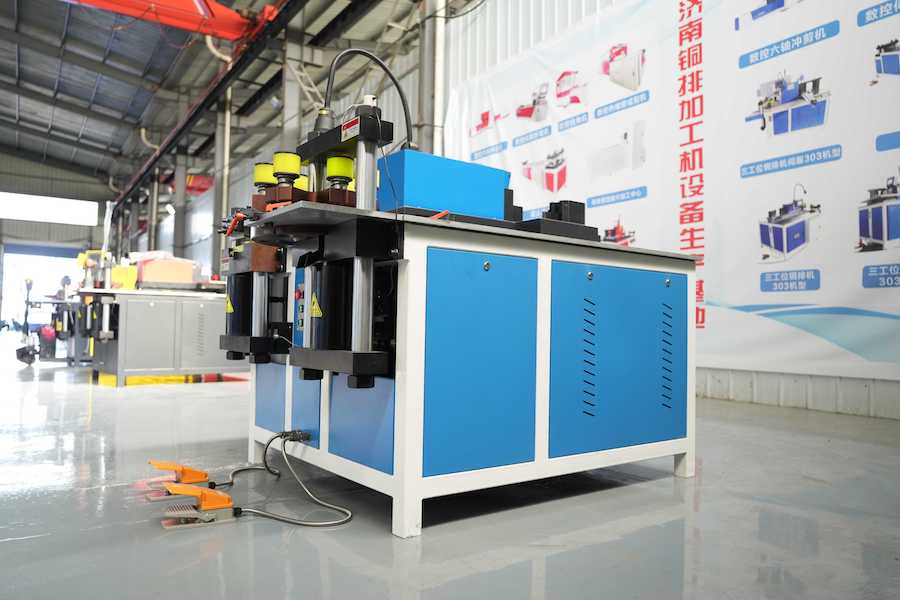
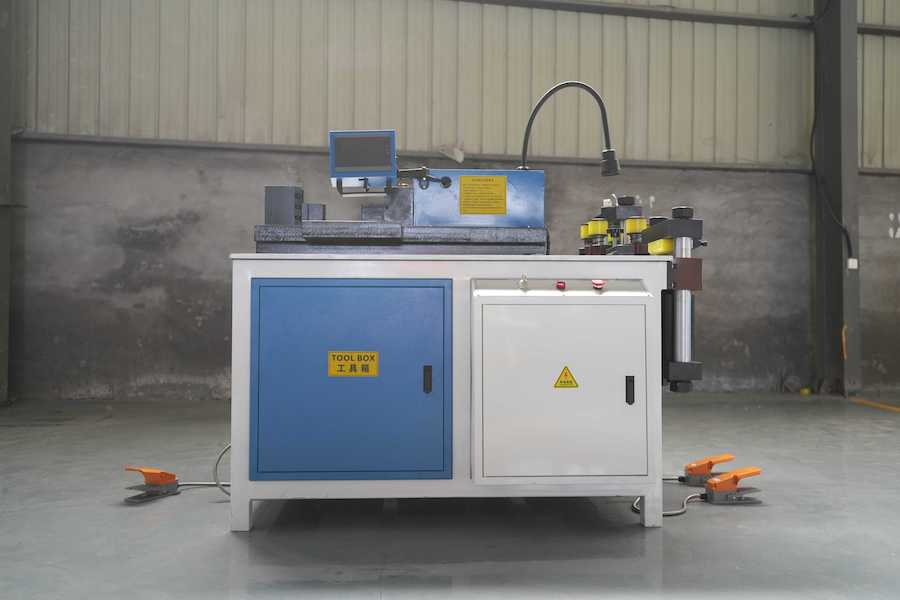
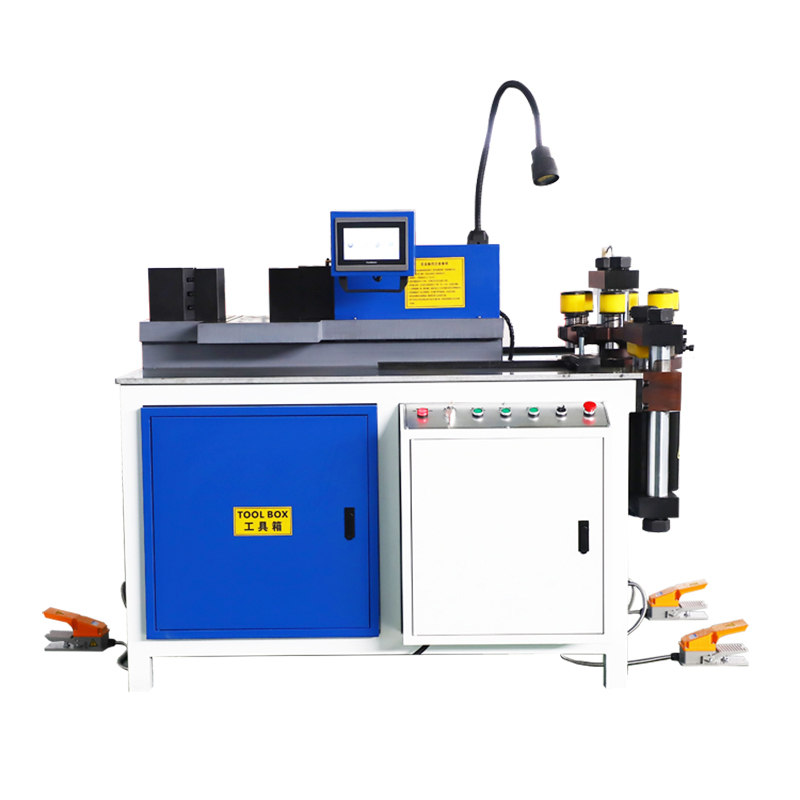
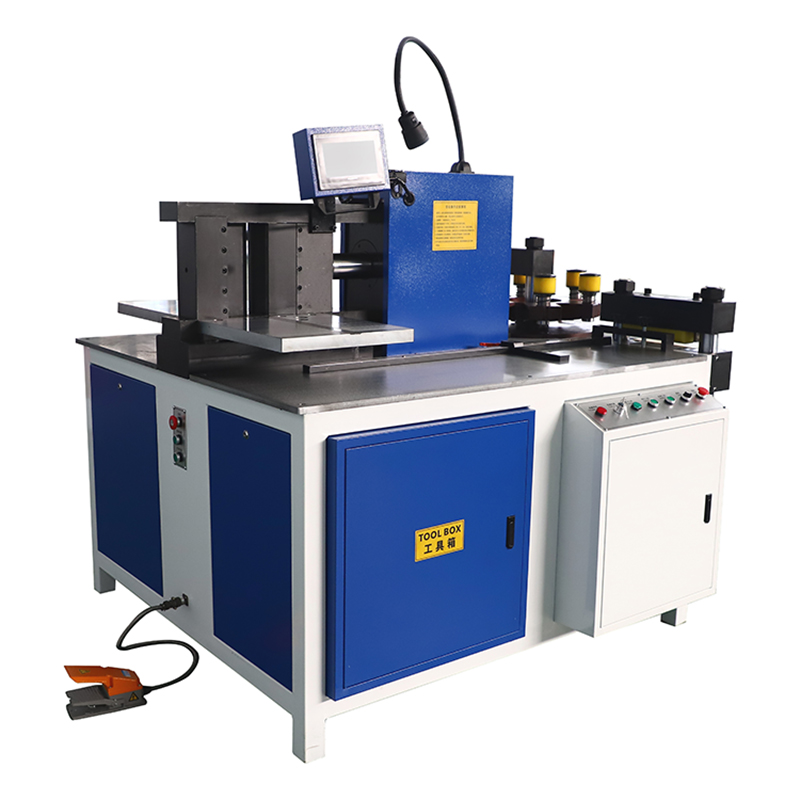
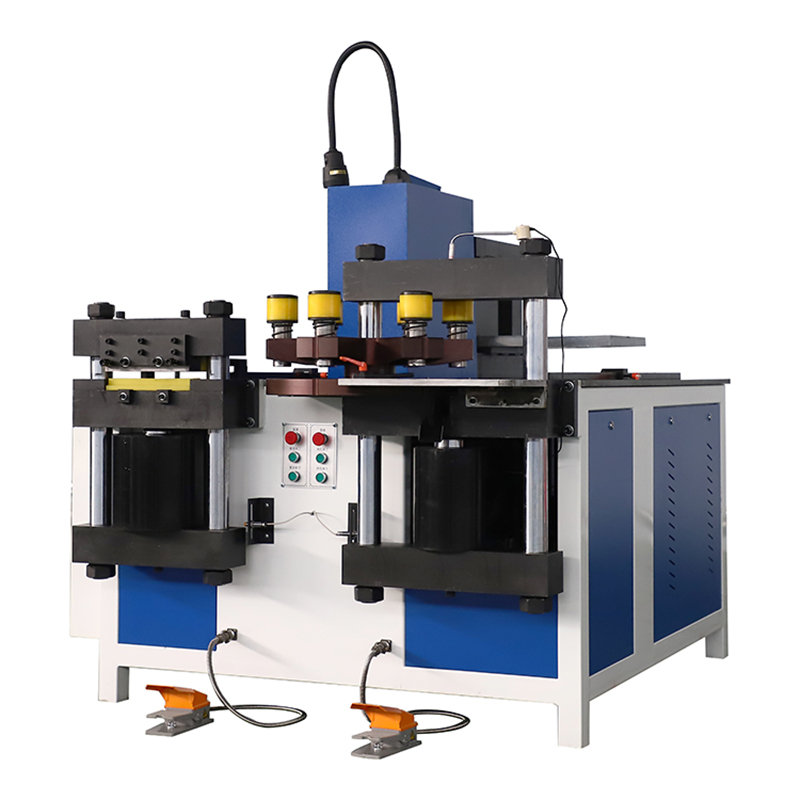
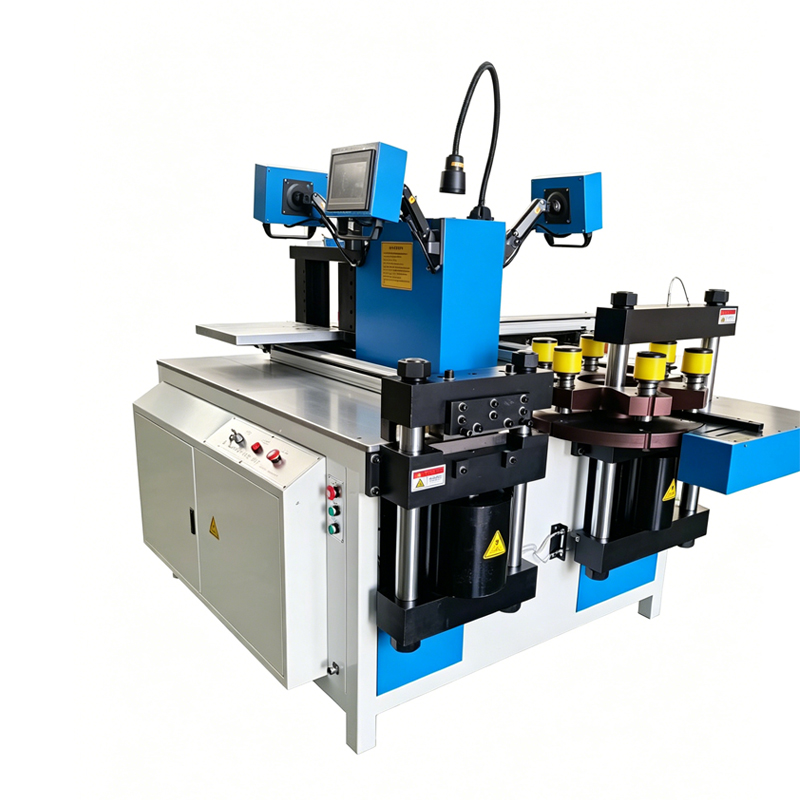
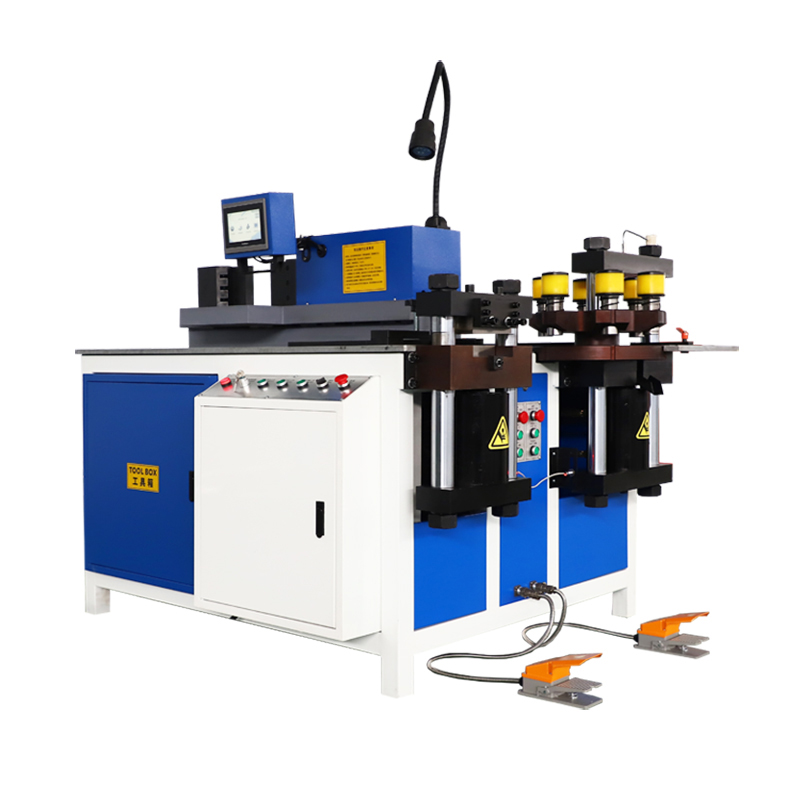
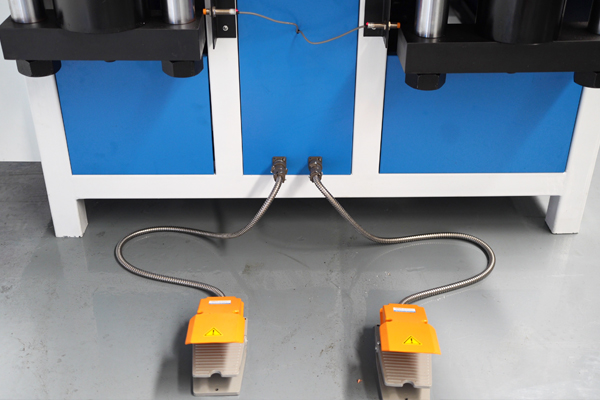
The 3-in-1 busbar machine has three independent processing units, which are respectively used for punching, cutting, and bending. Before the machine is officially powered on, the corresponding foot switches need to be installed for the three processing units according to the machine requirements.
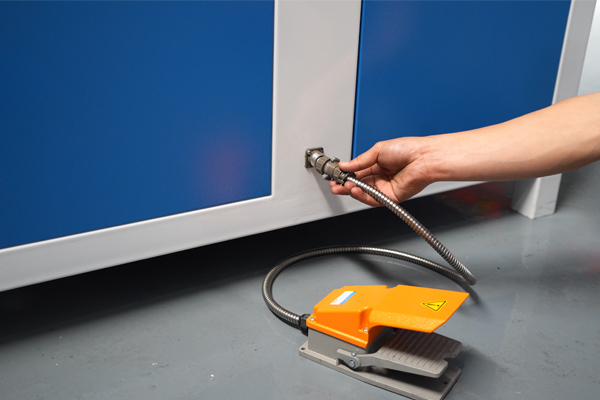
Take the three foot switches out of the machine tool box and check whether the plugs, cables, and overall appearance of the foot switches are normal. Make sure that the cables have not been squeezed or pulled, and that the plugs are not loose or damaged, so as to prepare for the subsequent installation.
Install the three foot switches on their corresponding processing units respectively. According to the machine interfaces, connect the foot switches to the punching, cutting, and bending processing units respectively, ensuring that each foot switch is correctly connected to the corresponding processing station.After the three foot switches have been installed, check all connection points again to ensure that they are secure and avoid problems such as plugs not being properly connected or cables becoming loose.
 |  |
The hydraulic system is an important power system for the 3-in-1 busbar machine to perform punching, shearing, and bending operations on copper and aluminum busbars. Before officially starting the machine, the hydraulic system needs to be checked, and hydraulic oil should be prepared and added according to the machine requirements.
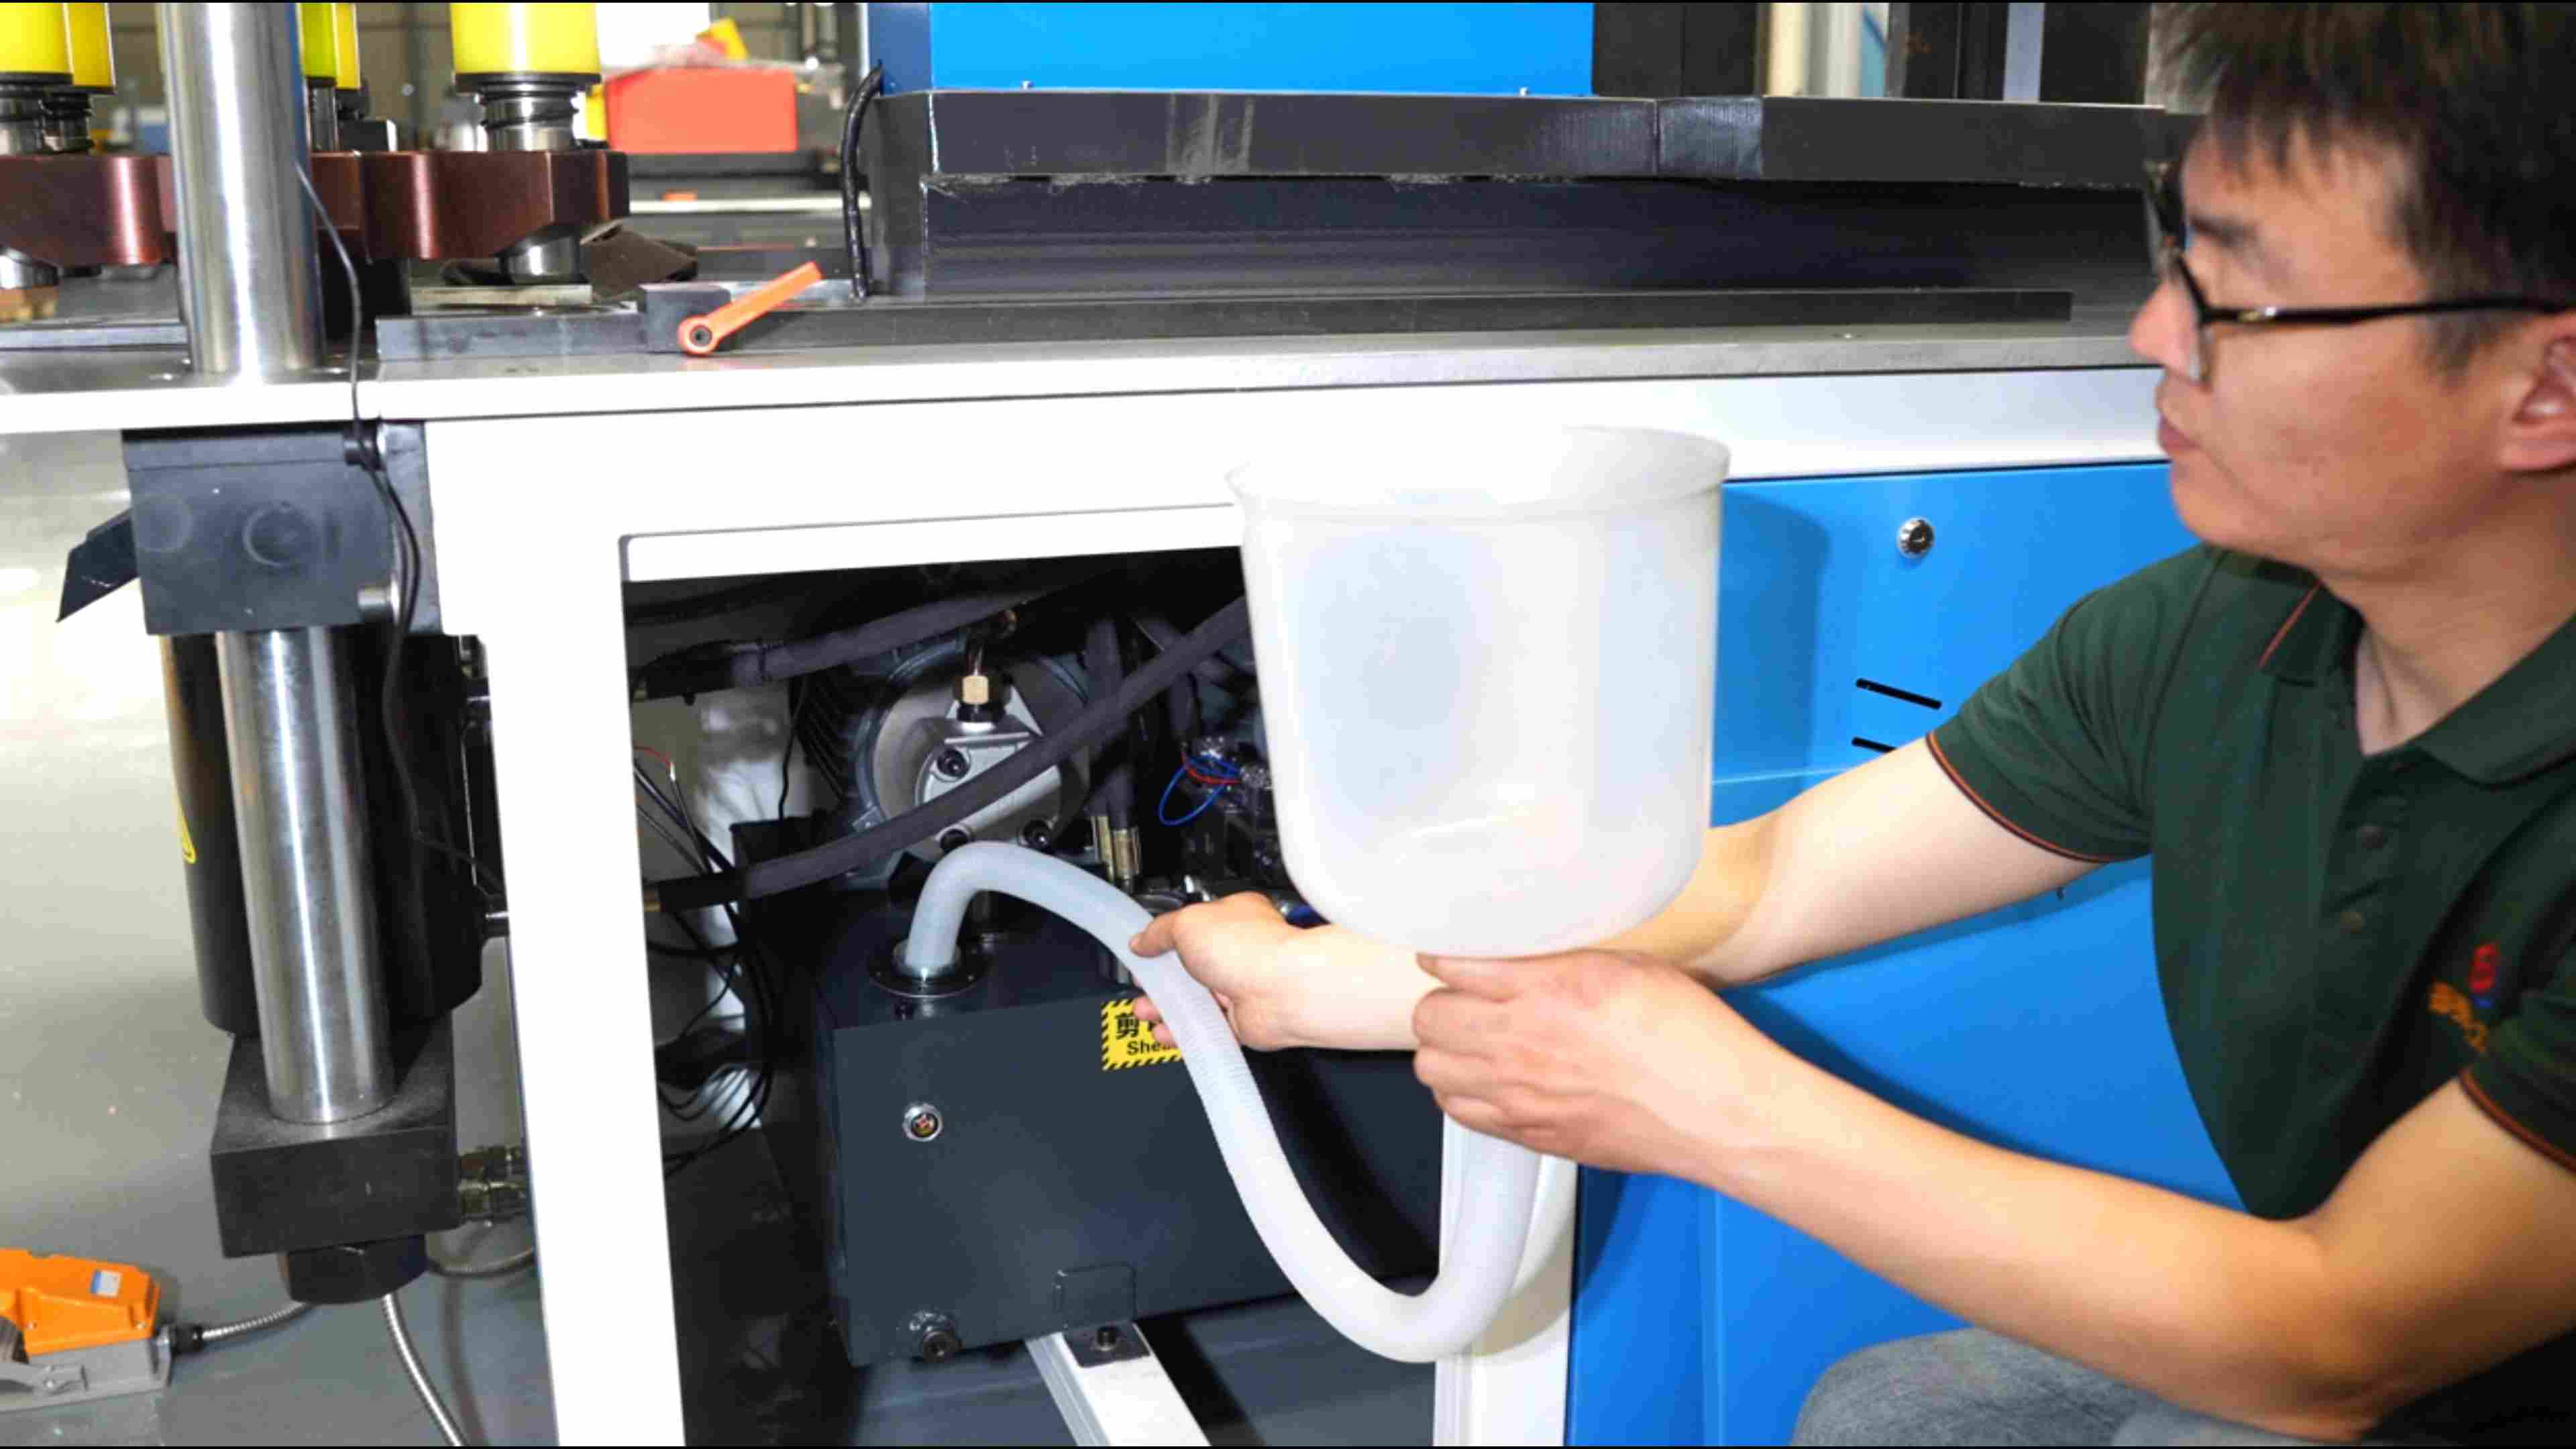
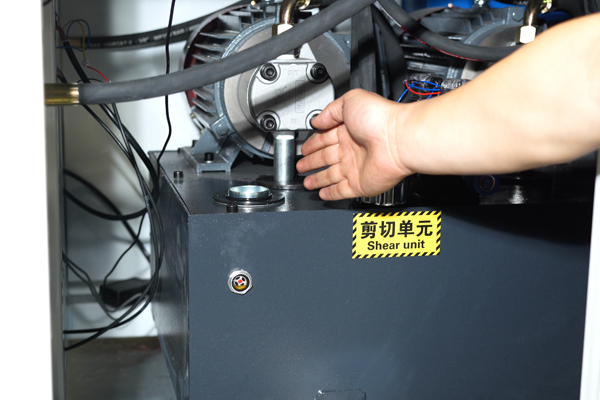
First, open the oil tank cabinet door, check the inside of the oil tank, and confirm that the oil tank and related components are in normal condition.
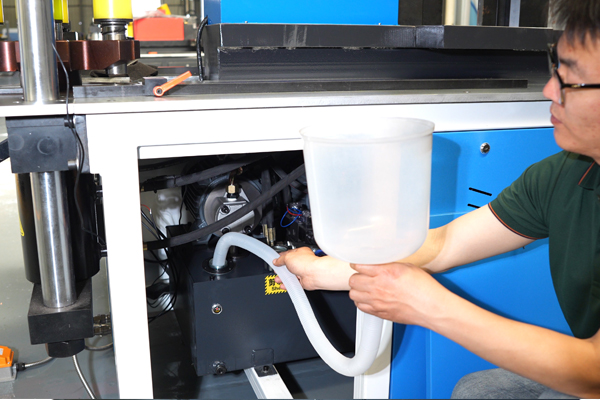
If the hydraulic oil is added manually, it usually requires 2–3 people to work together. If an oil pump is used for filling, one person can complete the operation.
Unscrew the oil filling cap and use the tools provided with the machine to add ISO VG 46 hydraulic oil into the oil tank.
The standard filling capacity for this model is approximately 90 liters. During the filling process, continuously observe the oil level. When the hydraulic oil reaches the specified red marking line inside the oil tank, stop filling.
If you need to learn about the selection of hydraulic oil for different hydraulic equipment, please refer to: [Hydraulic Oil Selection Guide].
After adding the hydraulic oil, tighten the oil filling cap and check the oil pipes, fittings, and related connections to ensure that they are in normal condition and that there are no obvious oil leaks, loose connections, or other issues.
For a hydraulic busbar Processing machine driven by a hydraulic system, the operating condition of the hydraulic system directly affects punching, shearing, bending, and other processing operations. Therefore, before the machine is officially put into operation, ensure that the hydraulic oil level is normal, the piping connections are secure, and the hydraulic system has no obvious abnormalities.
 |  |
After the hydraulic system preparation is completed, the electrical connections of the machine need to be carried out.
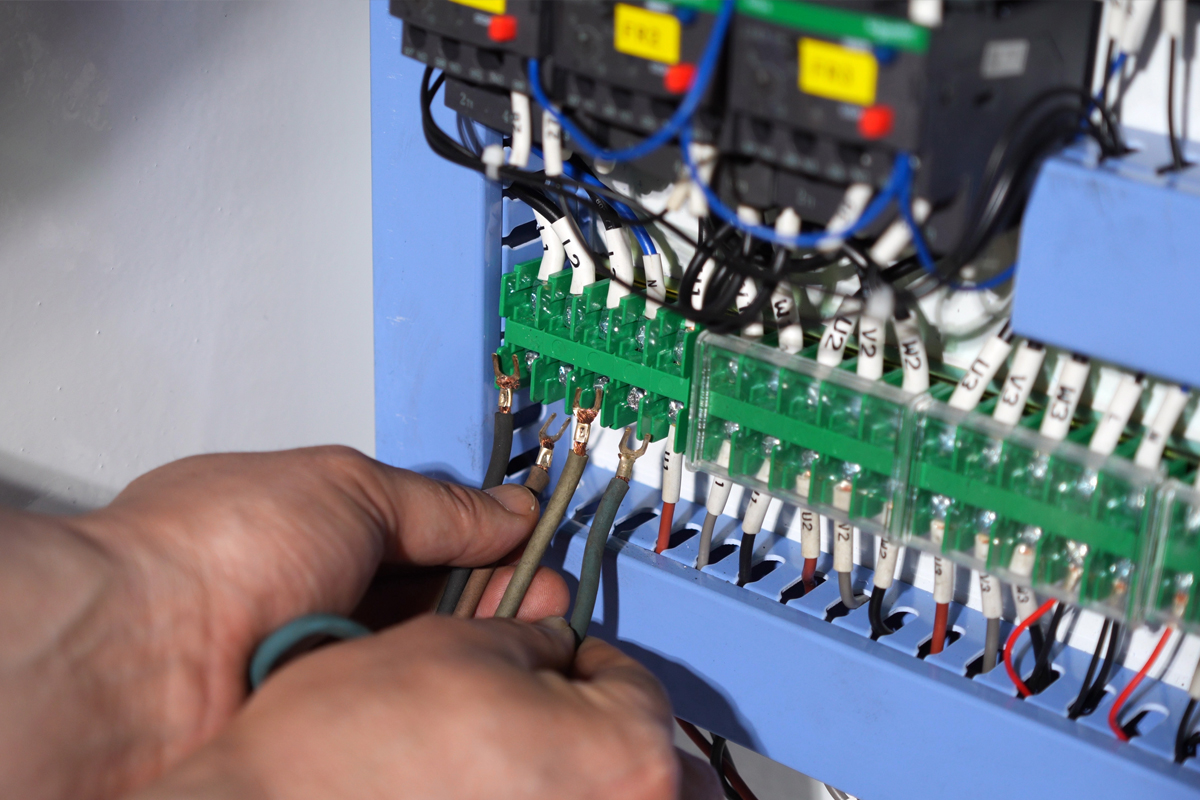
For this model, 6 mm² cables are used for the electrical connection. The specific cable specification should be determined according to the actual electrical requirements of the machine.
If you are unsure about the required cable specification, you can contact our engineers before wiring to confirm the appropriate cable specification according to the specific machine model and electrical configuration.
The wiring terminals are located at the lower left corner of the electrical cabinet. Connect the three-phase wires and neutral wire according to the machine's electrical wiring requirements.
Note: The electrical connection of the machine should be carried out by qualified professionals. The specific wiring method shall be based on the electrical drawings supplied with the machine and the requirements specified on the machine nameplate.
After completing the wiring, check that all connection points are secure to avoid loose connections, poor contact, or other issues.
 |
After completing the electrical connections and confirming that everything is correct, the machine can be powered on.
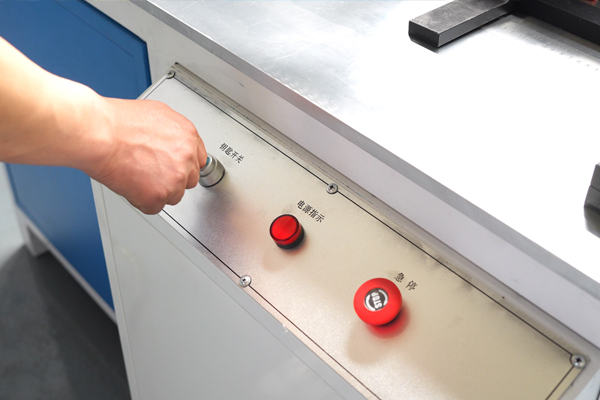
Turn the key switch on the control panel and check whether the machine indicator lights and operating screen turn on normally.
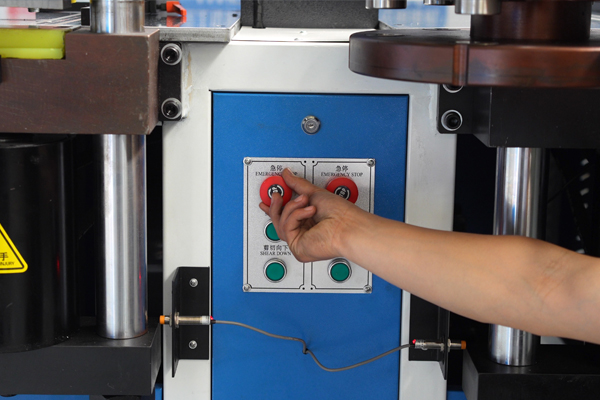
Release the emergency stop buttons of the punching, shearing, and bending units in sequence, so that the machine is released from the safety lockout state and completes the power-on reset.
 |  |
After completing the above preparations, the machine can undergo a no-load test.
Operate the foot switches of each station in sequence and check whether the corresponding processing unit operates normally.
Pay particular attention to:
If none of the three processing units operates normally, check whether the machine power supply and phase sequence are correct.
If a phase sequence problem is confirmed, first disconnect the power supply. Then, personnel with the appropriate electrical qualifications and operating conditions should adjust the phase wire connections according to the machine's wiring requirements, and then restore the power supply for testing.
After the no-load test, if all three processing units operate normally and there are no obvious abnormalities, the machine can proceed to the subsequent actual material processing test.
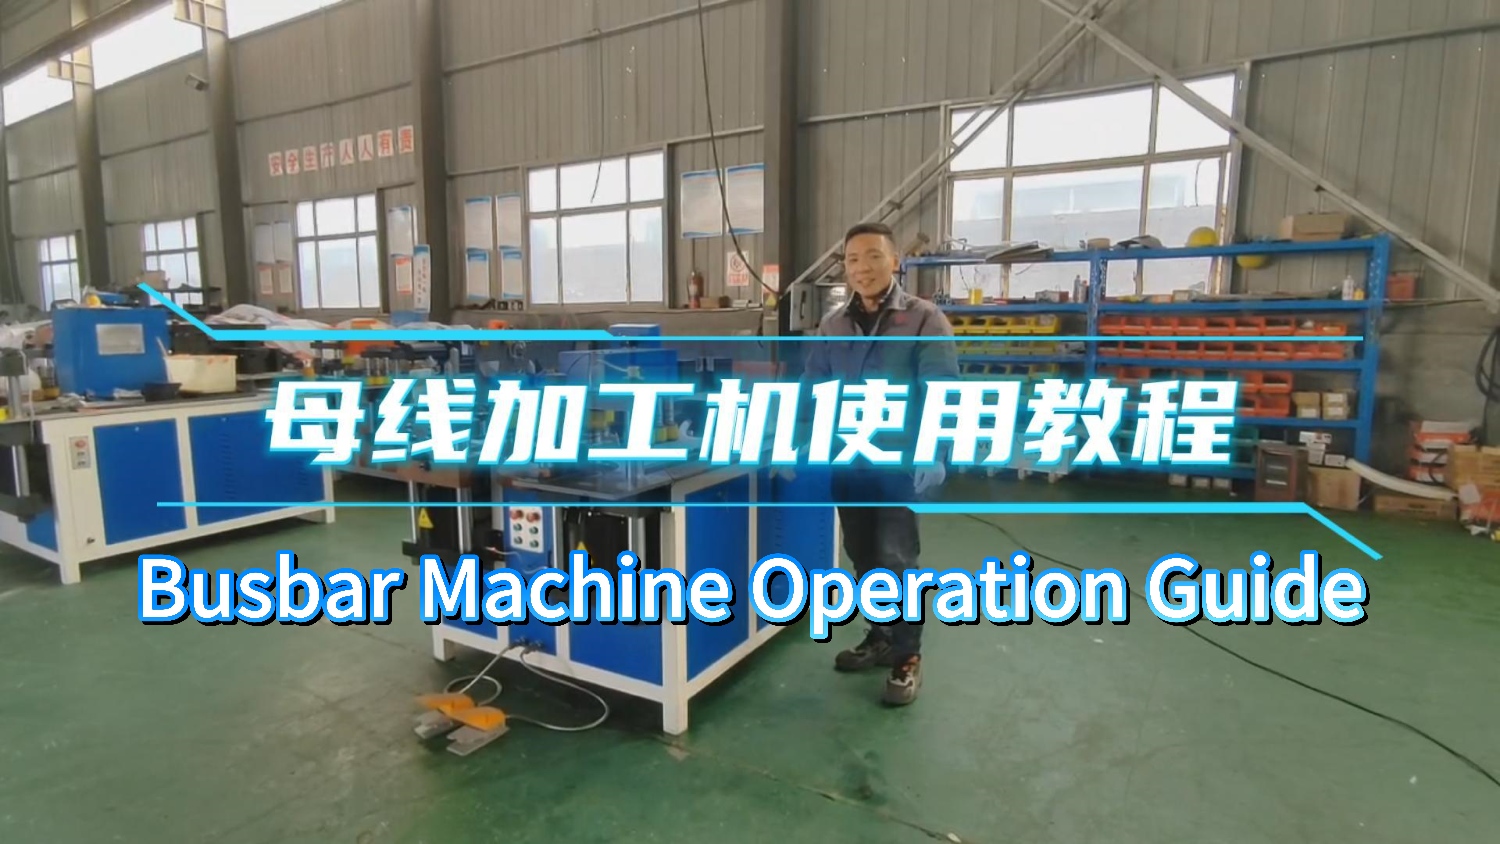
3-in-1 Busbar Machine Testing Video
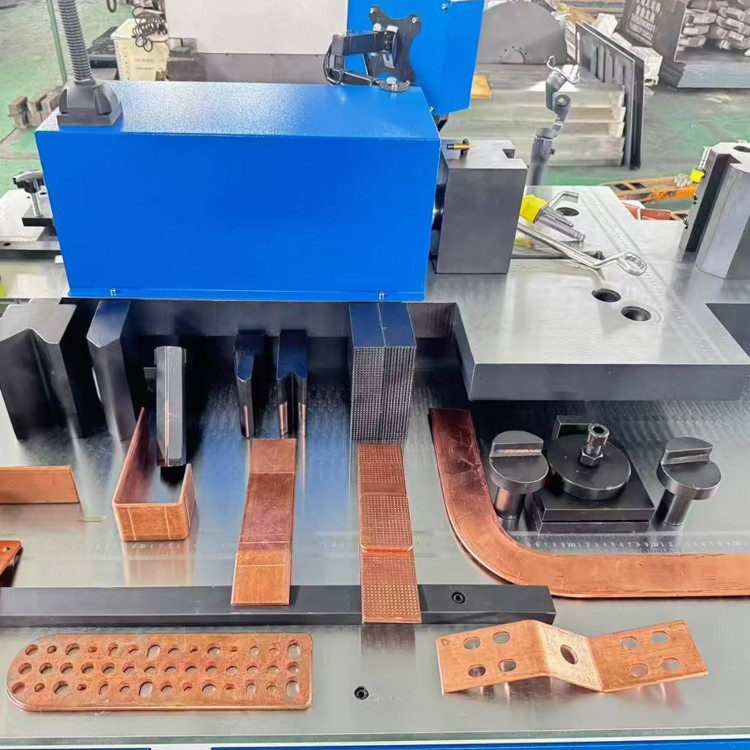
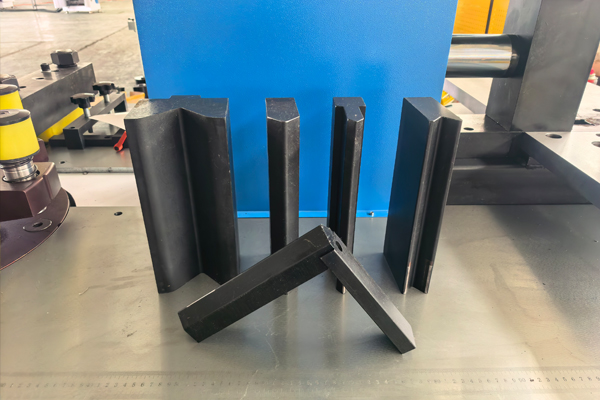
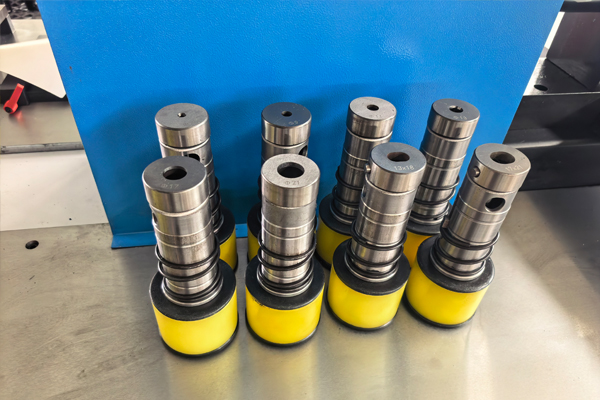
After the no-load operation is confirmed to be normal, install the appropriate dies according to the actual processing requirements. Before shipment, the machine is equipped with 8 sets of punching dies, 1 set of shearing dies, and 4 sets of bending dies, which can meet most busbar processing requirements. Select and install the corresponding dies according to the actual processing requirements.
Select the appropriate punching die according to the required hole diameter. After installation, check whether the models of the upper and lower dies are consistent and confirm that the dies are securely installed. A mismatch between the upper and lower die models may cause die damage during processing.
The shearing die has been installed by the manufacturer before shipment and has undergone testing and commissioning. The shearing clearance has therefore been adjusted to an appropriate condition. Therefore, non-professional personnel should not disassemble or adjust the shearing die without authorization, as this may change the shearing clearance or shearing position and affect the busbar shearing performance.
Select the appropriate bending die according to the thickness, width, and bending requirements of the copper or aluminum busbar to be processed, and complete the installation according to the machine requirements. After installation, check whether the bending die is securely installed to ensure that the subsequent bending operation can be carried out normally.
 |  |
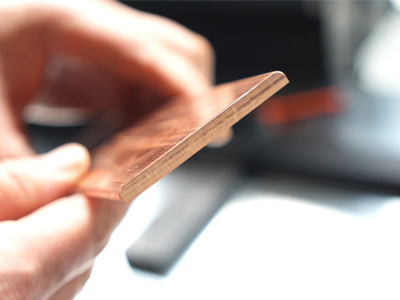
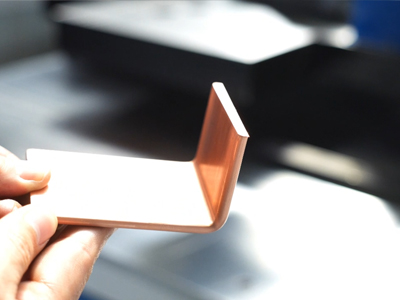
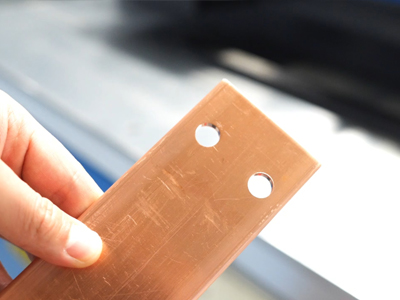
Prepare the corresponding materials according to the customer's actual production requirements. If the customer mainly processes copper busbars, commonly used copper busbars from actual production can be used for testing, so as to more accurately verify the processing performance of the copper busbar machine.
Before the trial operation, confirm the following busbar specifications:
Ensure that the trial material falls within the machine's processing range.
For copper busbar processing, actual tests should be conducted on punching, shearing, bending, and other functions according to the processing drawings provided by the customer.
This can better verify whether the machine meets the requirements of subsequent production.
The 3-in-1 busbar machine operating normally does not necessarily mean that the trial operation has been successful. After completing the actual material processing, the machine's operating condition and processing results also need to be comprehensively checked to confirm that all processing functions meet the production requirements.
Confirm that the shearing, punching, and bending units operate smoothly without obvious abnormal noise.
Check the copper and aluminum busbars after actual processing.
Only when the machine operates normally and the processing results of the copper and aluminum busbars meet the requirements can the trial operation be considered successful and the machine proceed to the formal production stage.
 |  |  |
Before the 3-in-1 busbar machine is officially put into operation, a series of preparation steps should be completed in sequence, including machine inspection, hydraulic oil filling, electrical connection, die installation, no-load operation, and actual material trial processing. Only after confirming that the machine operates normally and that the punching, shearing, and bending results of copper and aluminum busbars meet the requirements can the machine enter formal production.
Completing the pre-operation preparations according to the correct operating procedure not only helps confirm whether each processing unit of the machine is operating normally, but also helps identify potential problems with the hydraulic system, electrical system, dies, and processing accuracy in advance, preparing the machine for stable subsequent production.
If you are purchasing a 3-in-1 busbar machine, you can send your busbar specifications, processing requirements, or processing drawings to our engineers. Our engineers will provide suitable machine recommendations based on your actual processing requirements.
Frequently Asked Questions About 3-in-1 Busbar Machines
A standard 3-in-1 busbar machine can process copper and aluminum busbars up to 160 × 16 mm. If larger processing sizes are required, a heavy-duty busbar machine can be selected, which can generally process busbars up to 300 × 20 mm.
Yes. In addition to the standard dies supplied with the machine, punching dies and bending dies for busbars can also be customized according to actual requirements, including different processing dimensions and special processing dies.
First, check whether the selected die model for busbar bending matches the actual installed bending die, and then recalibrate the relevant parameters. If the dimensional deviation still exists after recalibration, stop continuous processing and contact our engineers for inspection and parameter adjustment.
First, check whether the models of the upper and lower punching dies match, and also check whether the processing material exceeds the applicable range of the machine. If the die installation and material specifications are both normal, but obvious burrs still appear after punching, further check the wear condition of the punching die.
A 3-in-1 busbar machine usually uses a 380V three-phase power supply. If the voltage in the customer's region is different, you can contact our engineers in advance to confirm the appropriate electrical configuration.